
Cybersecurity threats and attacks are initiated on a continuous basis from almost every corner of the globe. Identifying and tracking these attacks is a core task for most security professionals. IP address data is one of the most effective weapons that professionals and organizations have in their arsenal to identify cyber threats and shut down malicious activity.
Microsoft Sentinel provides a number of ways to perform IP enrichment and investigation. We’re going to look at using the AbuseIPDB service to automatically enrich incidents with details about the IP addresses in the incident. AbuseIPDB is a project dedicated to helping track malicious activity. It provides a central blacklist for security teams, system administrators, and other interested parties to report and find IP addresses that have been associated with malicious activity online.
We will deploy an Azure Logic App that enriches the Incident and then configure Sentinel Automation Rules to generate a Comment with details about the IP addresses in the Incident.
1. Create AbuseIPDB Account
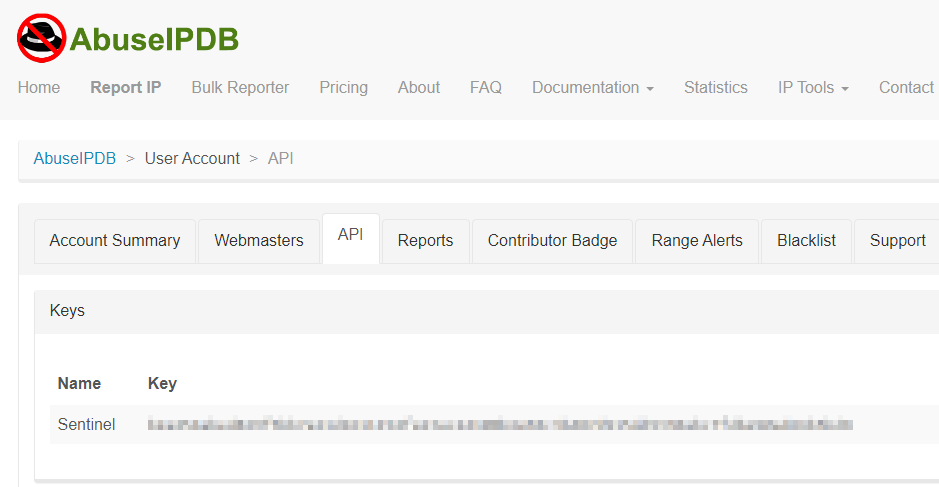
Go to https://www.abuseipdb.com/ and create a Free account. After you verify your account, you can create an API Key. Save the key for later.
2. Install Playbooks
Navigate to the Content Hub in Microsoft Sentinel and find the AbuseIPDB solution.
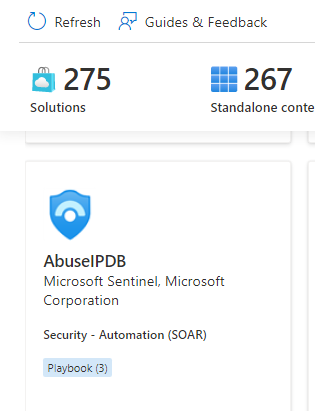
Install the AbuseIPDB solution.
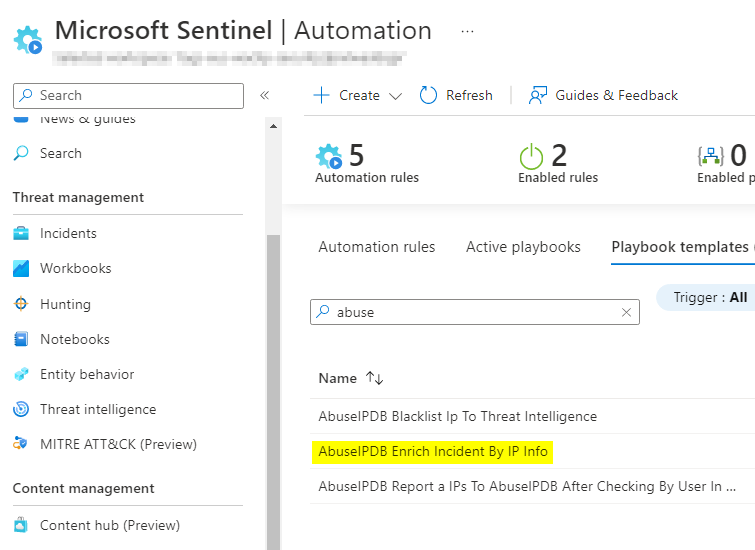
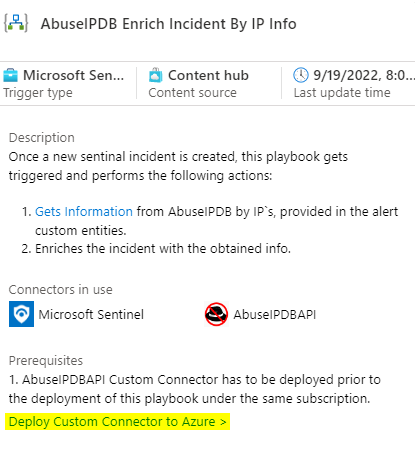
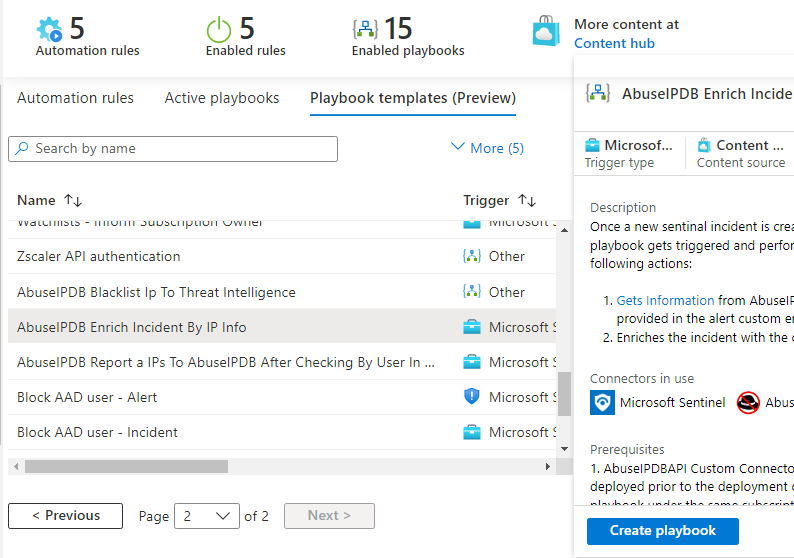
After installing, go back into Sentinel, and navigate to Automation > Playbook Templates. Find the AbuseIPDB Enrich Incident by IP Info playbook template.
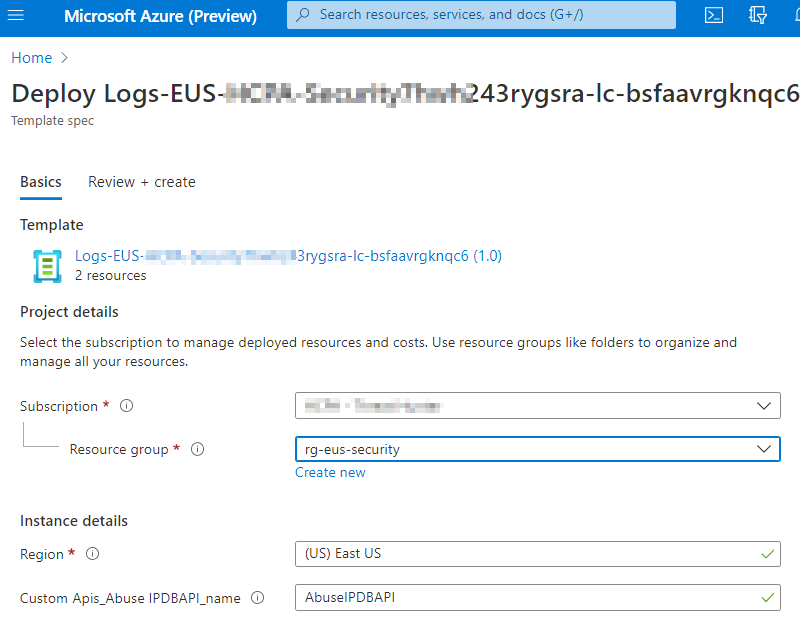
Click on the playbook template, and in the Prerequisites, click on the Deploy Custom Connector to Azure link. Deploy the connector into the same Resource Group as Sentinel.
After creating the Connector go back to the Playbook Templates and click Create Playbook.
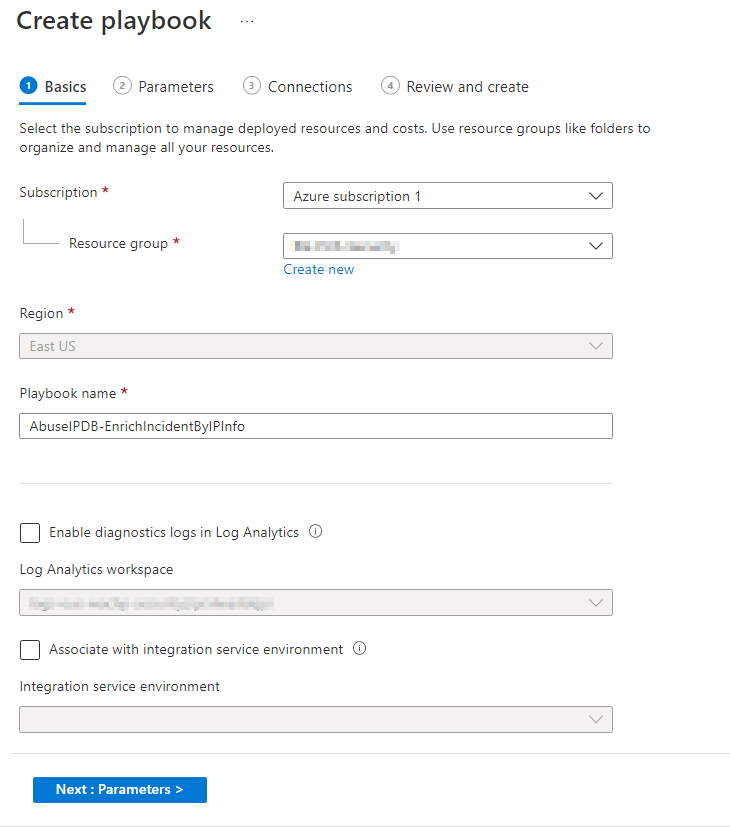
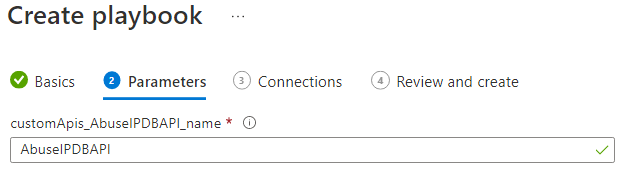
Ensure the correct Subscription and Resource Group are selected. You can leave the Playbook name as the default. Unless you need enhanced logging, you don’t need to enable Log Analytics or Service Environment. Click Next: Parameters.
Leave the Name with the default value.
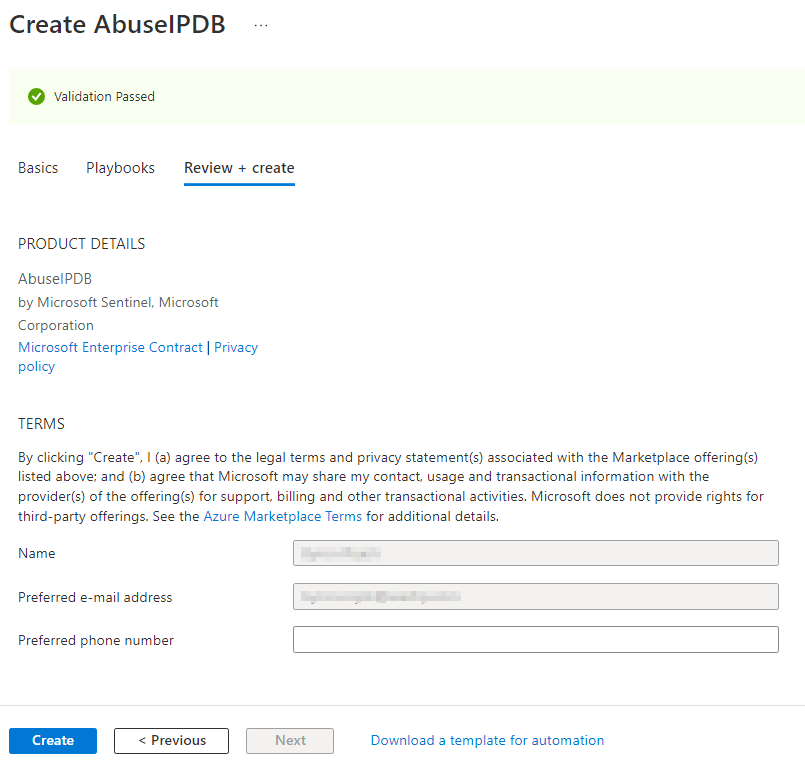
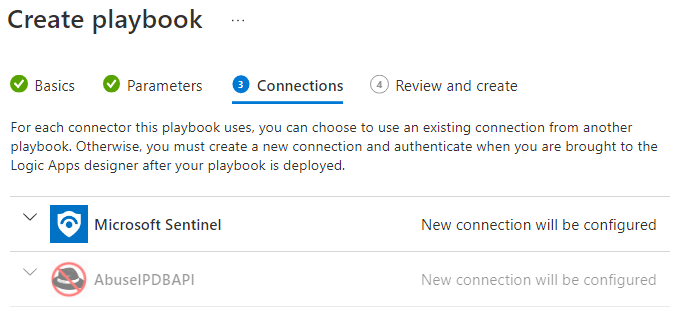
Click Review and Create on the Connections page.
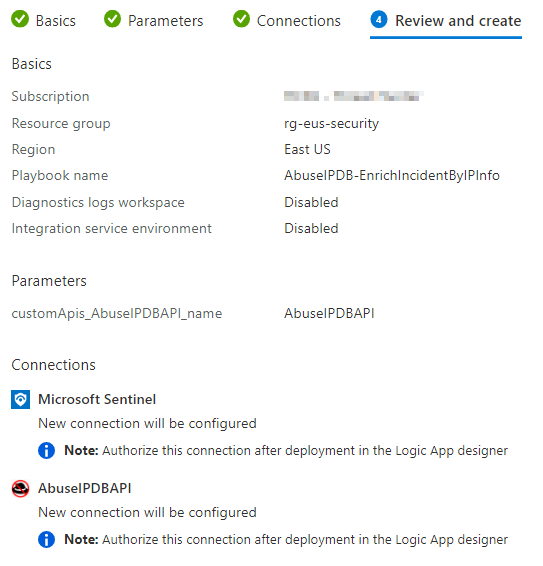
There should be no errors on the Review and Create screen; click Create and Continue to designer.
3. Configure Playbook
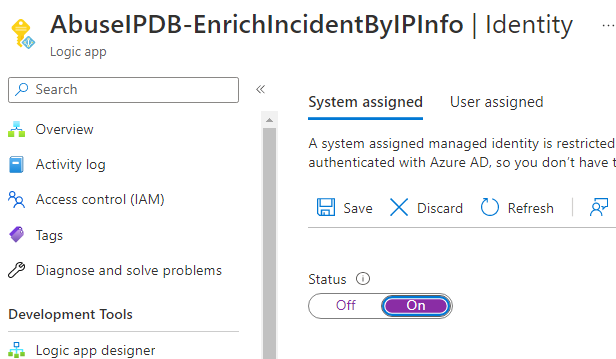
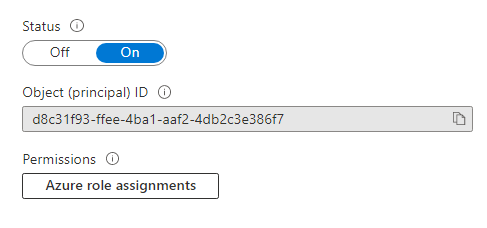
You will need to create a Managed Identity. Click Identity under the Settings section of the Logic App menu. Change the Status to On and click Save.
Once saved, you will see a button under Permissions. Click the Azure Role Assignments button.
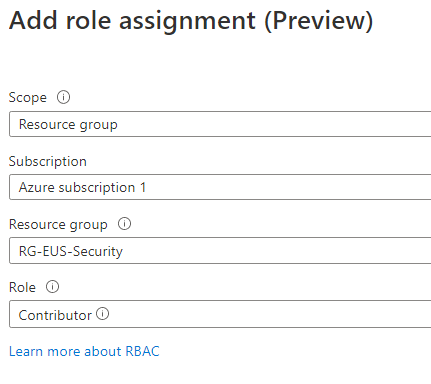
Click Add Role Assignment. Select the Resource Group as the Scope, and select the Sentinel subscription and Resource Group. You need to select Contributor to allow the Logic App to update Incidents. Click Save.
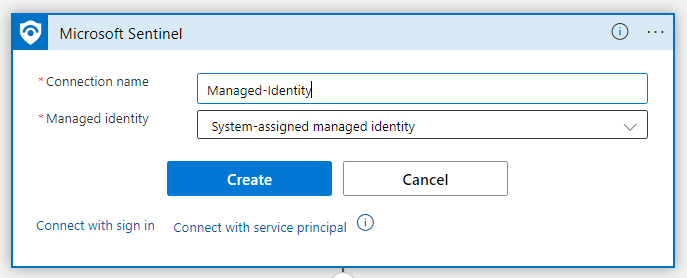
Go back to the Logic App Designer. Click the first Connection to Microsoft Sentinel, add New Connection, and click the link for Connect with Managed Identity. Name the Connection and click Create.
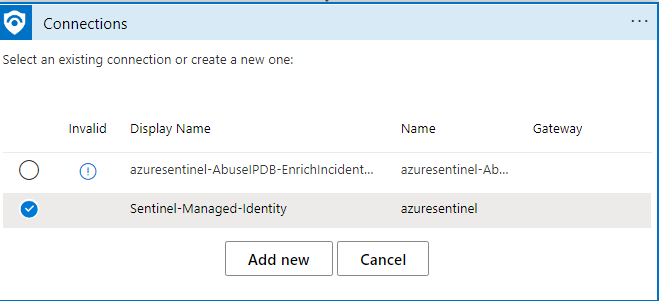
Click the second Sentinel Connection and change the Connection to use the Managed Identity connection you just created.
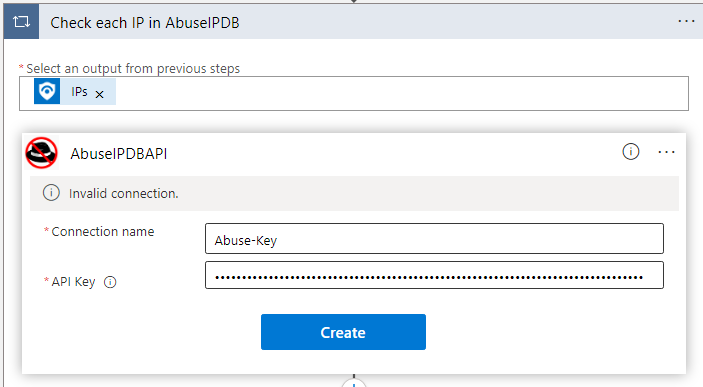
Click on Check each IP in AbuseIPDB. Click on Connections. Click on the exclamation mark to update the Connection. Name the connection, and paste in the API Key from your AbuseIPDBAPI account that you created in the first step.
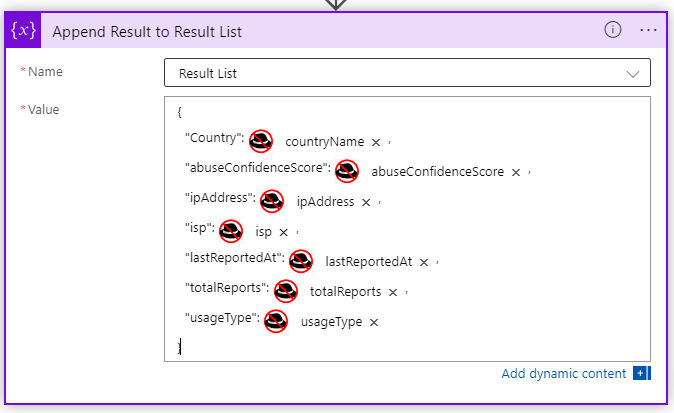
Click on the Append Result to Result List section. I’ve modified the default values to be more concise for investigations. Its also easier to navigate in an Incident. You can copy and paste the value below.
{
“Country”: @{body(‘AuseIPDB_CHECK_Endpoint’)?[‘data’]?[‘countryName’]},
“abuseConfidenceScore”: @{body(‘AuseIPDB_CHECK_Endpoint’)?[‘data’]?[‘abuseConfidenceScore’]},
“ipAddress”: @{body(‘AuseIPDB_CHECK_Endpoint’)?[‘data’]?[‘ipAddress’]},
“isp”: @{body(‘AuseIPDB_CHECK_Endpoint’)?[‘data’]?[‘isp’]},
“lastReportedAt”: @{body(‘AuseIPDB_CHECK_Endpoint’)?[‘data’]?[‘lastReportedAt’]},
“totalReports”: @{body(‘AuseIPDB_CHECK_Endpoint’)?[‘data’]?[‘totalReports’]},
“usageType”: @{body(‘AuseIPDB_CHECK_Endpoint’)?[‘data’]?[‘usageType’]}
}
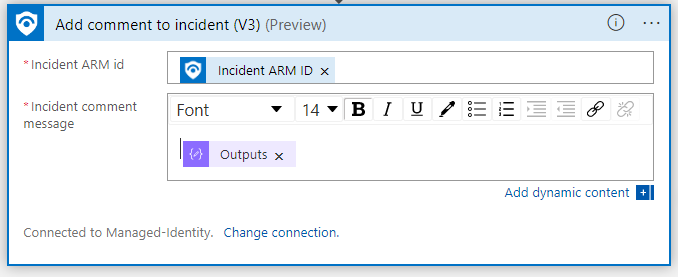
Click on the last Connections section. Change the Connection to the Managed Identity. Then modify the Comment Message. Remove the first Outputs, which is the logo, and remove the Header, just keep the HTML table output.
Click Save
4. Test the Playbook
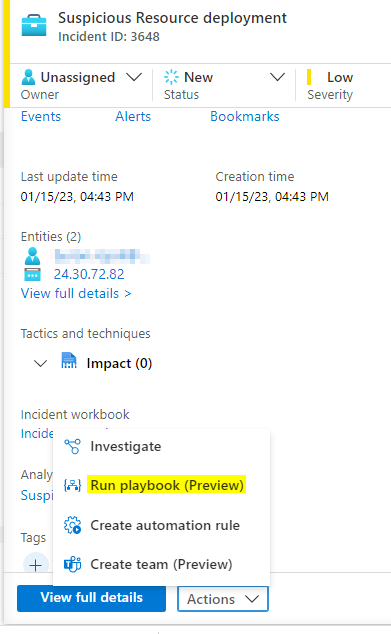
Go the Incident and find an Incident with an IP Address entity. From the Actions menu click Run Playbook, and select the AbuseIPDB Playbook.
Go to the Comments section and confirm a Comment was made.

5. Automate the Playbook Runs
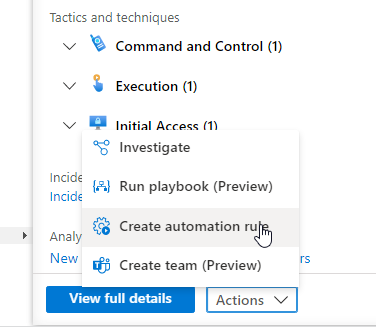
The easiest way to enable Playbook Automation is to go to open Incidents and select an Incident with IP Entites. Click Create Automation Rule.
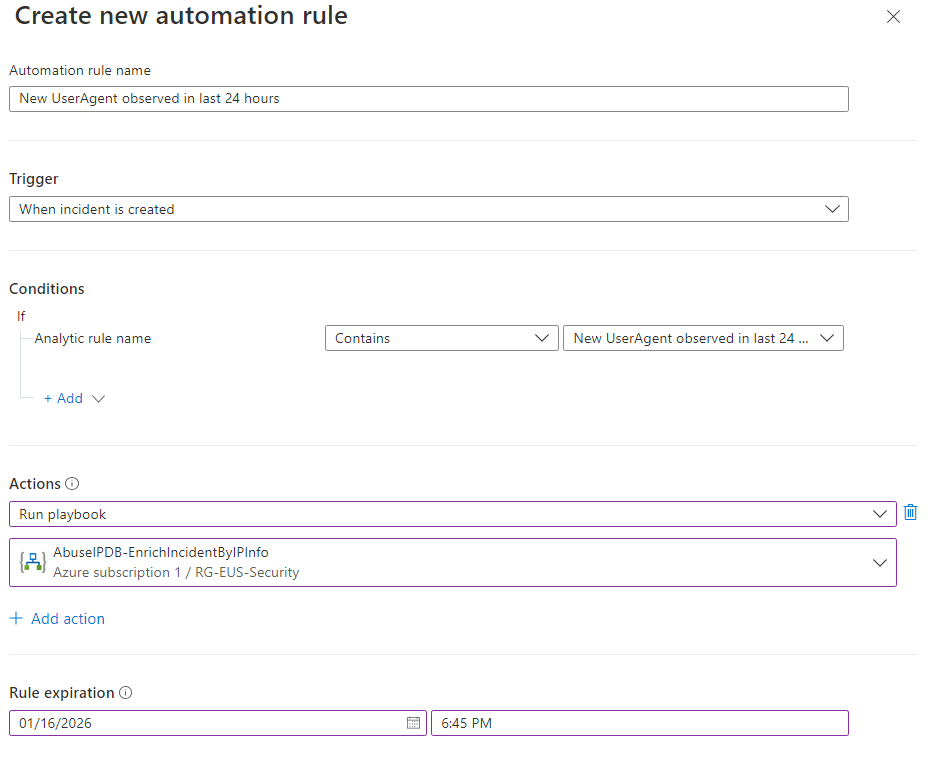
Modify the Conditions to remove the IP or Account conditions. Change the Actions to Run the new Playbook. Update the Rule Expiration to as far out as makes sense.
As new Incidents get created that match the Automation Rule, the Logic App will rule and update the Incident with IP information. During incident triage, an analyst can quickly review IP information and help assess threats faster.